

DIY: Pizza Dough
/
How To Make Sibie’s Pizza Dough At Home!
This recipe makes enough dough for three 10” pizzas.
What you will need:
INGREDIENTS:
2.5 Cups All Purpose FLOUR
1 Cup Warm WATER
1/4 Cup OIL
1/4 Cup SUGAR
1 Teaspoon SALT
1 Tablespoon YEAST
KITCHEN TOOLS:
Measuring Cups/ Spoons
Large Mixing Bowl
Whisk or Spoon
Dough Scraper (optional)
TIME NEEDED:
Prep Time: ~ 20 mins
Proof Time: ~ 1 hr
Slow Rise: Overnight (recommended but optional)
Hello everyone!
We are proud to release our award-winning Sibie’s pizza recipe. The decision to publish our recipes came after we had to temporarily close due to coronavirus. At that time we were unable to serve our customers. It’s no secret that pizza is comfort food, and during a time when comfort is largely a commodity, we decided we should find a way people can enjoy our food whether or not our doors are open.
As George simply puts it, “Pizza is good food” and good food puts a smile on the face. So we’ve been busy scaling down our batch size in order to adapt it to the home kitchen.
From our family to yours here is how to make Sibie’s pizza dough at home.
STEP ONE:
Mix Ingredients
Mix all ingredients (except flour) in a bowl or large measuring cup.
I used a pint-size measuring cup to measure my 1 cup of warm water and then I added all the other ingredients - keeping flour aside.

Blend Ingredients before adding to flour.
If using a stand mixer you can add all ingredients into the bowl first and mix. Once mixing, slowly add your flour. But if you want to mix by hand… read on.
It’s important to use warm water to allow the yeast to begin activating. If the water is too hot it could kill the yeast resulting in flat dough. If it’s too cold, it will take much longer to proof.
Next, you are going to start mixing everything together and forming your dough, but before you get too messy, make sure you have an extra cup of flour on the side for various uses along the way.
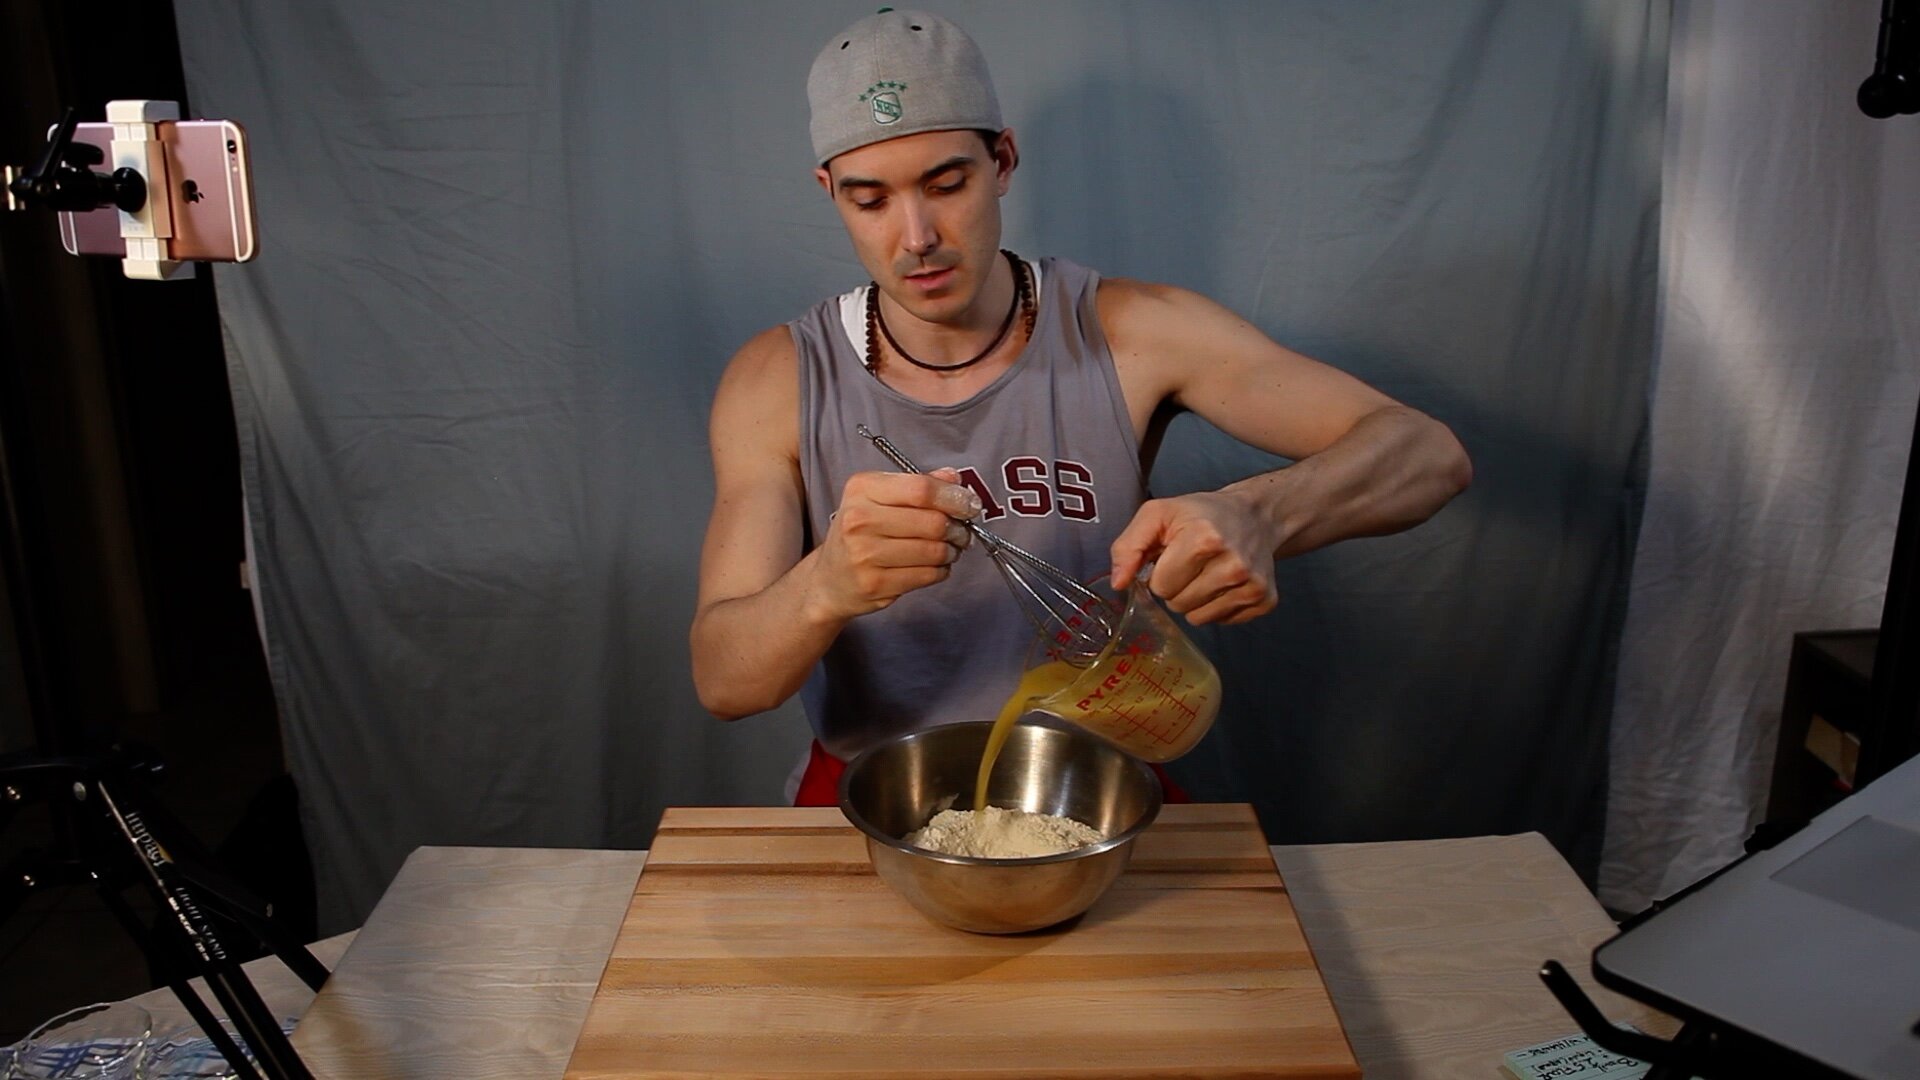
Add flour to large bowl and then pour in wet ingredients.
This is where you will begin to mix the ingredients by hand. Ready to get messy?

Dive in.
Don’t be shy.
Just focus on mixing one area. As the ingredients start to blend and stick together you want to start forming a little ball. At this point it might feel like a gooey blob, just keep going and soon you’ll get the snowball effect.
But Matt, how can I make the snowball if it’s all sticking to my hands?

Sticky hands?Flour bath.
Just grab some of that extra flour I mentioned earlier and rub it around in your hands. Pull off all the big chunks and mix them back in.
Once you got everything into a big ball you can bring the dough from the bowl to the counter - just make sure to sprinkle a good amount of flour down on the surface first.
Move from bowl to counter.
Or cutting board.
STEP TWO:
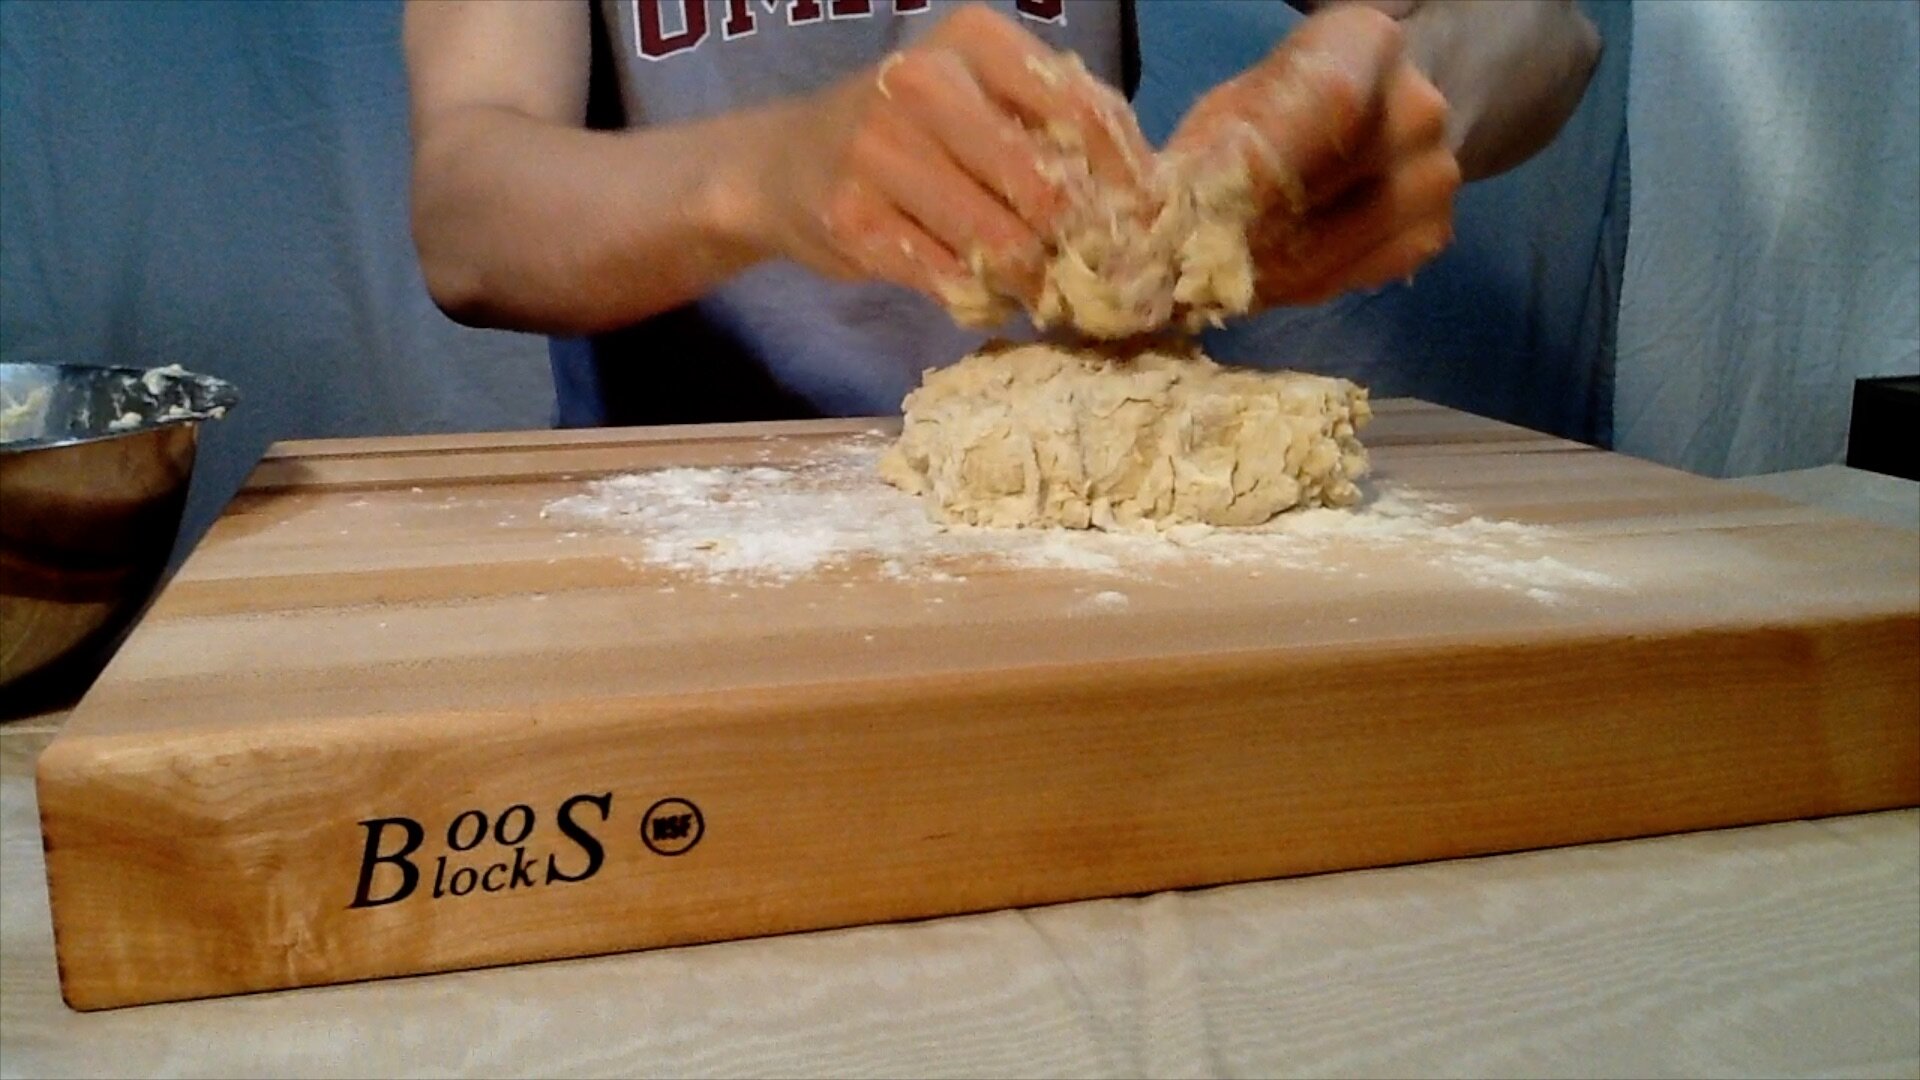
Mix Dough
From here we are going to mix the dough by hand. A couple of things to remember, be gentle, and don’t be afraid to add more flour as you go.
Your goal is to blend all the ingredients without over mixing. And remember to utilize the flour bath to get the dough from your fingers back into the ball.
To mix the dough, you are going to want to do “The Fold.”
Do the fold.
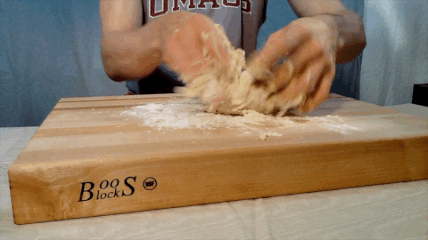
Fold the dough into itself over and over again. You want to apply enough pressure to blend the flour but not so much to damage the dough.
You can tell you are pushing too hard if you feel the dough tearing. As you continue to mix, the dough will become more and more elastic - this is what you want.
If it starts sticking to the counter, add a little more flour.
Keep going until the texture is smooth and almost all the little flour lumps are worked through. This process will take about 10-15 minutes. Another indicator of when the dough is mixed enough is when its still a little sticky but the dough doesn’t come off on your hands.

Just a little sticky.
Now that the dough is mixed, we want to roll it into a ball so that it can have an initial proof.
Try this rolling method...

Tuck the dough into itself.
My favorite way to do this is to put the dough on the counter and slowly drag it towards yourself while tucking/folding the sides in. You’re basically wrapping the dough up in itself.
The goal here is to make a ball and close any gaps or holes without trapping any air pockets inside the dough.
STEP THREE:
Initial Proof/Rise
Once you have your dough in a ball, plop it into a bowl with some flour so it doesn’t stick and cover with a towel. Let it sit out and allow the yeast to work its magic.
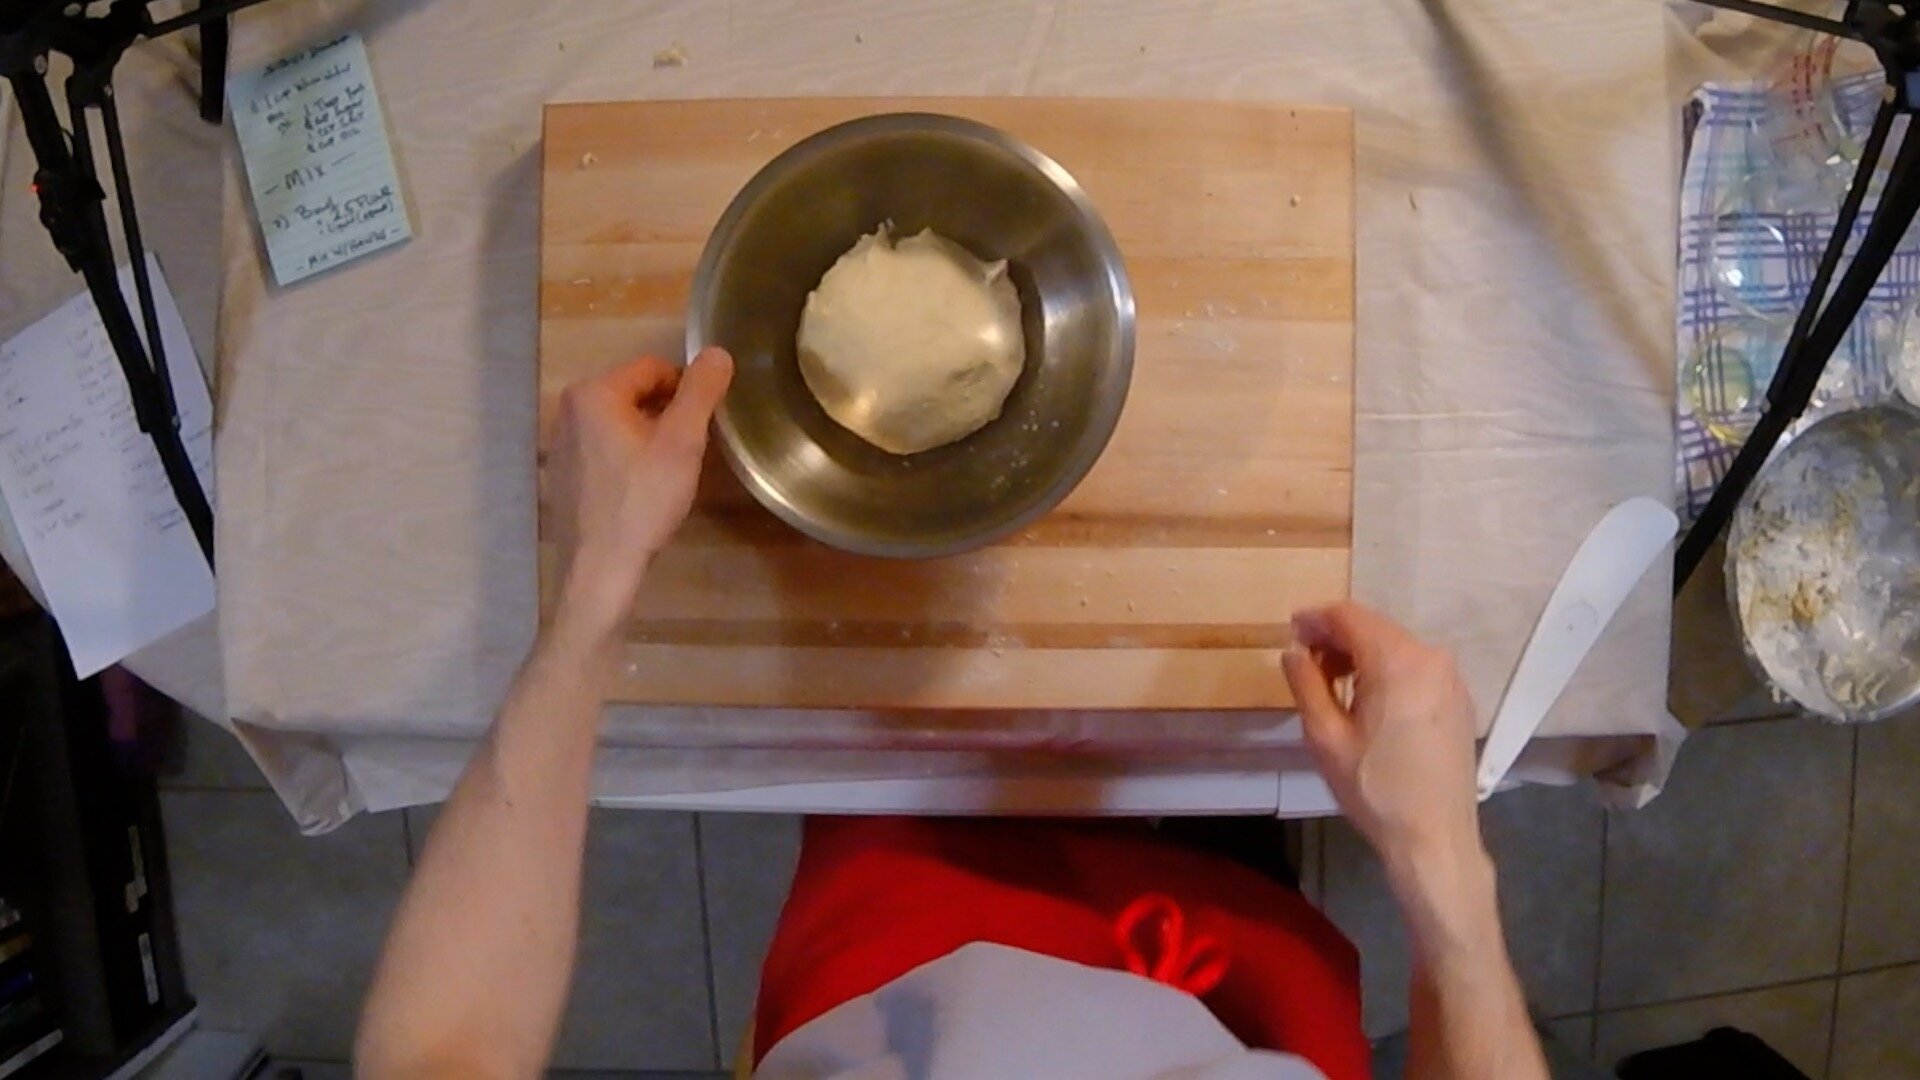
Wait until it doubles in size.
This could take about an hour depending on the temperature in the room. So keep an eye on it (this is your new baby… (gender-neutral) congratulations!).

IT’S ALIVE!
Well done.
STEP FOUR:
Portion & 2nd Rise
Now we are going to portion our dough balls and allow them to rise again overnight.
Take your dough out of the bowl and back to the counter (with flour so it doesn’t stick). Cut the dough into three equal parts and roll each ball with the same method used earlier. This will result in three pieces of dough that will stretch out to about 8-10” pizzas. If you want to make a larger or thicker crust pizza you can cut into two parts.

Lay out dough.

3 equal parts.

Roll, wrap, tuck.
Pinch closed - no air pockets!
For best results, leave the dough in the fridge overnight. This will allow the dough to slowly rise and become more flavorful. However, if you cannot wait until tomorrow, allow the dough to sit for another 10-20 minutes to rest before you stretch it and top with sauce and cheese.
If you do leave it in the fridge overnight (recommended), before you stretch the dough the next day, let it sit out for about 20 - 30 minutes. The dough will become nice and soft and easy to stretch. *You want it to be just slightly cooler than room temperature.
THAT’S IT! YOU GOT SIBIES DOUGH!
We will be posting this video on making dough along with making some of our favorite pizzas ASAP.
But in general, if you are going to make a pizza - pre-heat your oven to 400 and cook on a baking sheet for about 10-12 minutes. Your pizza is done when the crust is golden brown. The cheese will also begin to brown in the middle.
More DIY Pizzas are on the way!
Thanks, everyone.
Stay safe & eat healthy!
-Matt, George & #TeamSibies
